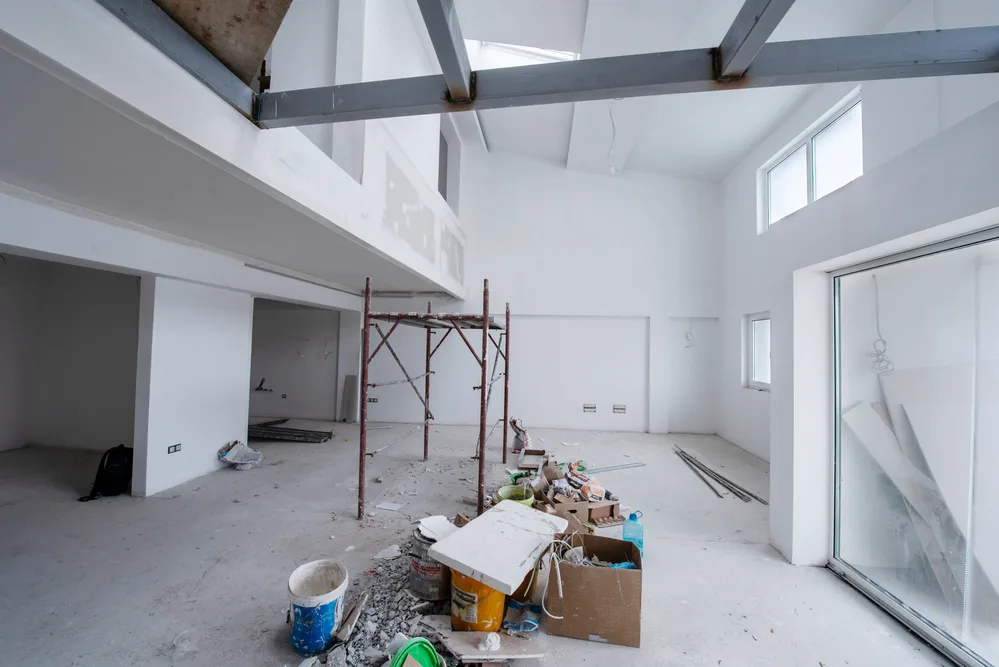
GIB fixing is a crucial part of interior construction, ensuring walls and ceilings are properly installed before stopping, plastering, and painting. Whether you are renovating your home or working on a DIY project, learning how to fix GIB (plasterboard) correctly can save you money and provide a professional-quality finish. This guide will take you through the step-by-step process of GIB fixing in South Auckland, along with essential tips and techniques to get the best results.
What is GIB Fixing?
GIB fixing involves cutting, positioning, and securing GIB (plasterboard) onto timber or steel framing. This step provides a solid base for further wall finishing, such as GIB stopping, plastering, and painting. Proper GIB fixing ensures durability, reduces the risk of cracks, and improves the overall appearance of your walls and ceilings.
Tools and Materials You Will Need
Before you start, gather the following tools and materials:
Tools:
Measuring tape
Utility knife or plasterboard saw
Straight edge or T-square
Electric drill or screwdriver
Plasterboard screws or nails
Stud finder
Ladder or scaffold
GIB lifter (for ceilings)
Materials:
GIB boards (plasterboard)
Adhesive (if using glue method)
GIB screws (25mm for walls, 32mm for ceilings)
Joint tape (for stopping later)
Step-by-Step Guide to DIY GIB Fixing
Step 1: Prepare the Surface
Before fixing GIB, ensure that the wall framing is properly prepared.
- Use a stud finder to locate the framing studs and mark them with a pencil.
- Check that the framing is straight and level. If necessary, adjust or plane down high spots.
- Clear the area of dust and debris to ensure the GIB boards attach properly.
Step 2: Measure and Cut the GIB Boards
- Measure the wall or ceiling area where you will be installing the GIB.
- Use a T-square or straight edge to mark precise lines on the plasterboard.
- Score the board with a utility knife, then snap it along the cut line.
- Trim any rough edges with sandpaper or a plasterboard rasp for a clean finish.
Tip: Always cut boards slightly smaller than the wall area to allow for expansion and easy installation.
Step 3: Position the GIB Boards
- Start with ceiling boards first, followed by the walls.
- If installing on the ceiling, use a GIB lifter or have an extra pair of hands to support the board.
- Position the boards horizontally on walls to reduce the number of joints.
- Ensure edge joints fall on the center of a stud to provide proper support.
Tip: Stagger vertical joints to improve strength and reduce visible seams.
Step 4: Attach the GIB Boards to the Frame
Using Screws:
- Use 25mm screws for walls and 32mm screws for ceilings.
- Space screws 300mm apart on ceilings and 400mm apart on walls.
- Ensure screws are slightly below the surface without breaking the paper layer.
Using Adhesive and Screws (Best Practice):
- Apply adhesive dabs to the framing every 200-300mm.
- Fix the board in place and lightly press it against the adhesive.
- Use screws only around the edges to hold the board in position while the glue sets.
Tip: Avoid over-tightening screws, as this can weaken the GIB board.
Step 5: Cut Openings for Electrical Outlets and Fixtures
- Use a pencil to mark the locations of power outlets, switches, or light fixtures.
- Cut openings with a jab saw or hole saw before securing the board.
- Ensure edges are smooth and fit snugly around openings.
Tip: Double-check measurements before cutting to avoid costly mistakes.
Step 6: Check and Secure the Fixing
- Inspect all screws to ensure they are flush with the GIB surface.
- Check that all joints align properly for a seamless finish.
- Use a straight edge to check for gaps and adjust if needed.
Tip: If small gaps exist, they can be filled during the stopping process.
Common DIY GIB Fixing Mistakes and How to Avoid Them
Overtightening Screws – This can damage the GIB board. Keep screws slightly below the surface without breaking the paper layer.
Not Staggering Joints – If all joints align vertically, it weakens the structure. Staggering them improves durability.
Skipping Adhesive – Using adhesive reduces the number of screws needed and provides extra support.
Not Cutting Accurately – Measure twice and cut once to avoid waste and misalignment.
Ignoring Safety Precautions – Always wear a dust mask and safety goggles while cutting GIB boards.
Final Thoughts: DIY GIB Fixing Made Easy
GIB fixing may seem like a challenging task, but with careful preparation and the right techniques, you can achieve a professional-quality finish. By measuring accurately, securing boards properly, and avoiding common mistakes, your DIY project will be successful.
Once the GIB boards are fixed, the next step is GIB stopping, where joints, screws, and imperfections are smoothed out. From there, you can proceed with plastering and painting to complete your interior walls and ceilings.
By following this step-by-step guide, you can confidently tackle your DIY GIB fixing project and create beautiful, durable walls that will last for years.


